Showing posts with label class exercise. Show all posts

Wednesday, 16 April 2014

Introduction to Metaio

Finally, we learned how to use Metaio Creator using its basic steps. Learning was kind of fun in a way especially when the augmented reality works. However, there are some I couldn't do it due to some technical error. I couldn't sign in but I already registered though.


We begin by picking a marker. We are to pick a marker (image printed on a piece of paper) and download a pdf file. From the pdf, we are to pick the image same as the one we pick on the paper. From the image, we added a 3D model sample given by the file in it. 


So after we adjust on how we want it to look like, we previous it. This is the preview of how it would looked like in the outcome. Basically, we need to held the image marker properly so that it can read the marker.


.


And more other models tryouts… 

Also, we are introduced with Metaio toolbox. Where instead of just using the given model examples, we can also trace the 3D object such as hats, bottles, mouse and etc. 

Wednesday, 9 April 2014

Muse introduction ~

Today we learned for the first time to use Adobe Muse and also was shown a few sites regarding muse.


We begin by inserting a new site where we created a page like we used to in Dreamweaver before. It has a homepage and about, gallery, contact us.


In the master A (which is for all the page in it),we added in the page title and navigation bar in it.  

While in separate (in the gallery page), we added the light box image where we added our own image in it.

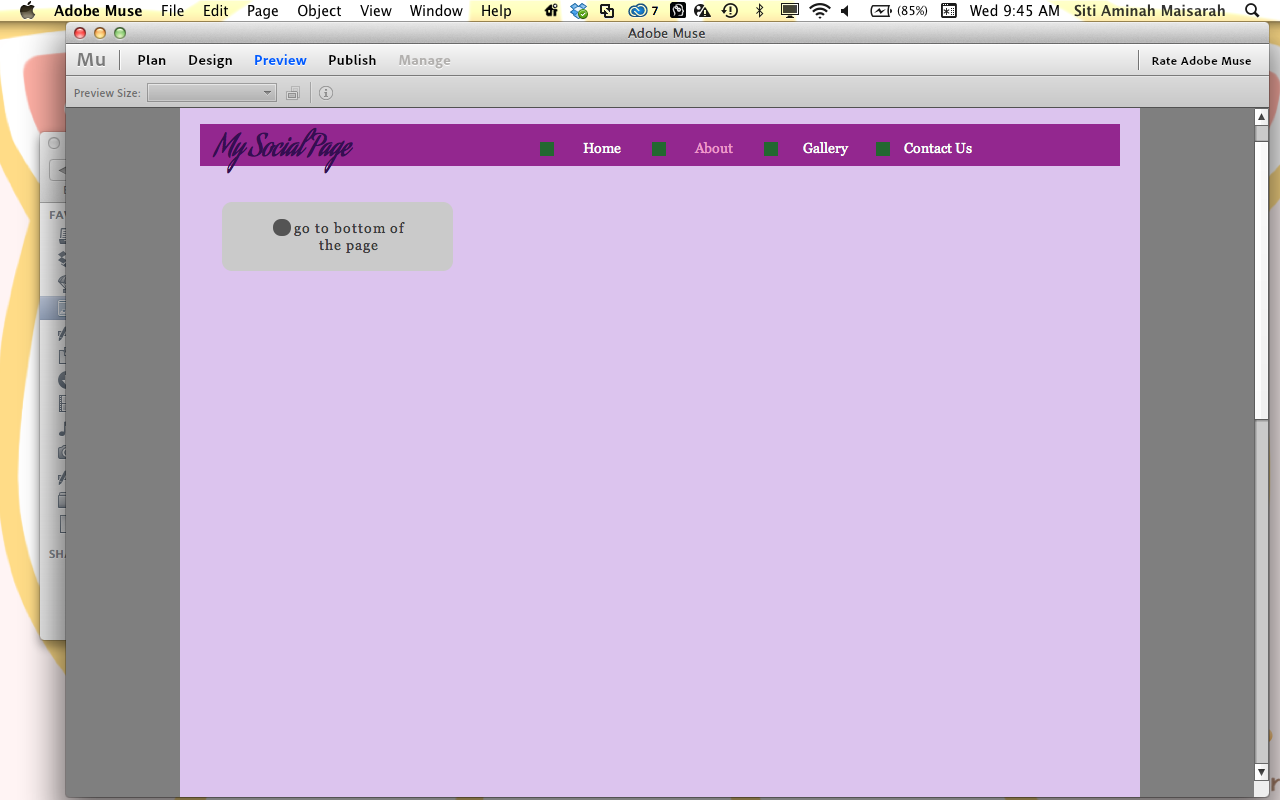
In the about page however, we learned to do parallax scrolling using muse. Honestly it is easier than in edge but for now I think it is less animated (as in more to changing page in a scrolling method). So here we used pin and anchor. We anchored a part of the page and then we added button to navigate to the anchor point. To keep the button following the page, we pin it from the top middle point.

This will be the for the phone. We just added in another page especially for the phone. So here, we just need to copy from the desktop and rearranged it into a phone page.


Here is another page where we learned more about parallax scrolling.

This is done based on our understanding during the lesson and it is done after the lesson. 

Thursday, 3 April 2014

Edge Skills upgrade!

There are three exercise done today in just three hours! Anyhow, the skill learned are basic but it was cool. We learned button, parallax scrolling and drag&drop.

In the button exercise, we learn by making three button and we separated them by pages; page 1, page 2 and page 3. To navigate, we added three circles, each represent one page.


We begin by adding the text, circles and rename most of the layer for a more organize arrangement.


I rearranged the circles as we are free to do so. For each buttons, we turned on its display mode and add in the keyframe. We switched off for the part where we didn't want to display.

the button and the page:
red - page 1
yellow - page 2
green - page 3


After that, I added in the background color.

Next is the parallax scrolling. To me, this is the most interesting one and I may consider to use this method for the assignment outcome. Maybe it would be a storybook in a parallax scrolling form. - Still considering and while reconfirm again after the other applications' tutorials. 

Adding some coding into the stage.

Here we can scroll the page while the text's opacity changed as I scroll more than half.


Add in image to make it more cool? Well, it certainly looked better than just plain text.

Trying it in fullscreen. Tried making the content to be centered but this is what I got. It's not as center as it seems…..


Lastly, drag and drop in a web using Edge.

Separated all the images in Illustrator and saved them in SVG (Scalable Vector Graphics) file. That way, the images can be edited in Edge and can be arranged.

After resizing them, I separated them in this manner.

This is how it looked online.


The coding to make the drag and drop mechanic.

Wednesday, 2 April 2014

Class Starts now!

Today we finally start the class by learning the very basic of Adobe Edge Animate CC. Basically most of the features in the Adobe Edge (AE) are a like the combination of the other interactive Adobe.


We learn to set an animation which includes play (loop), ease in & out (effect) and also changing the background and such.


We also learned to change a graphic into symbol. In the symbol, we add in the effect. While that on the stage (main timeline), we duplicate the symbol and edit the playback into different timing. This will let the symbol to play its animation in different timing.

Other than that, we learned that masking is easier to be done here in Edge compared to Flash.